Wednesday, April 18, 2012

Vinegar and chicken health

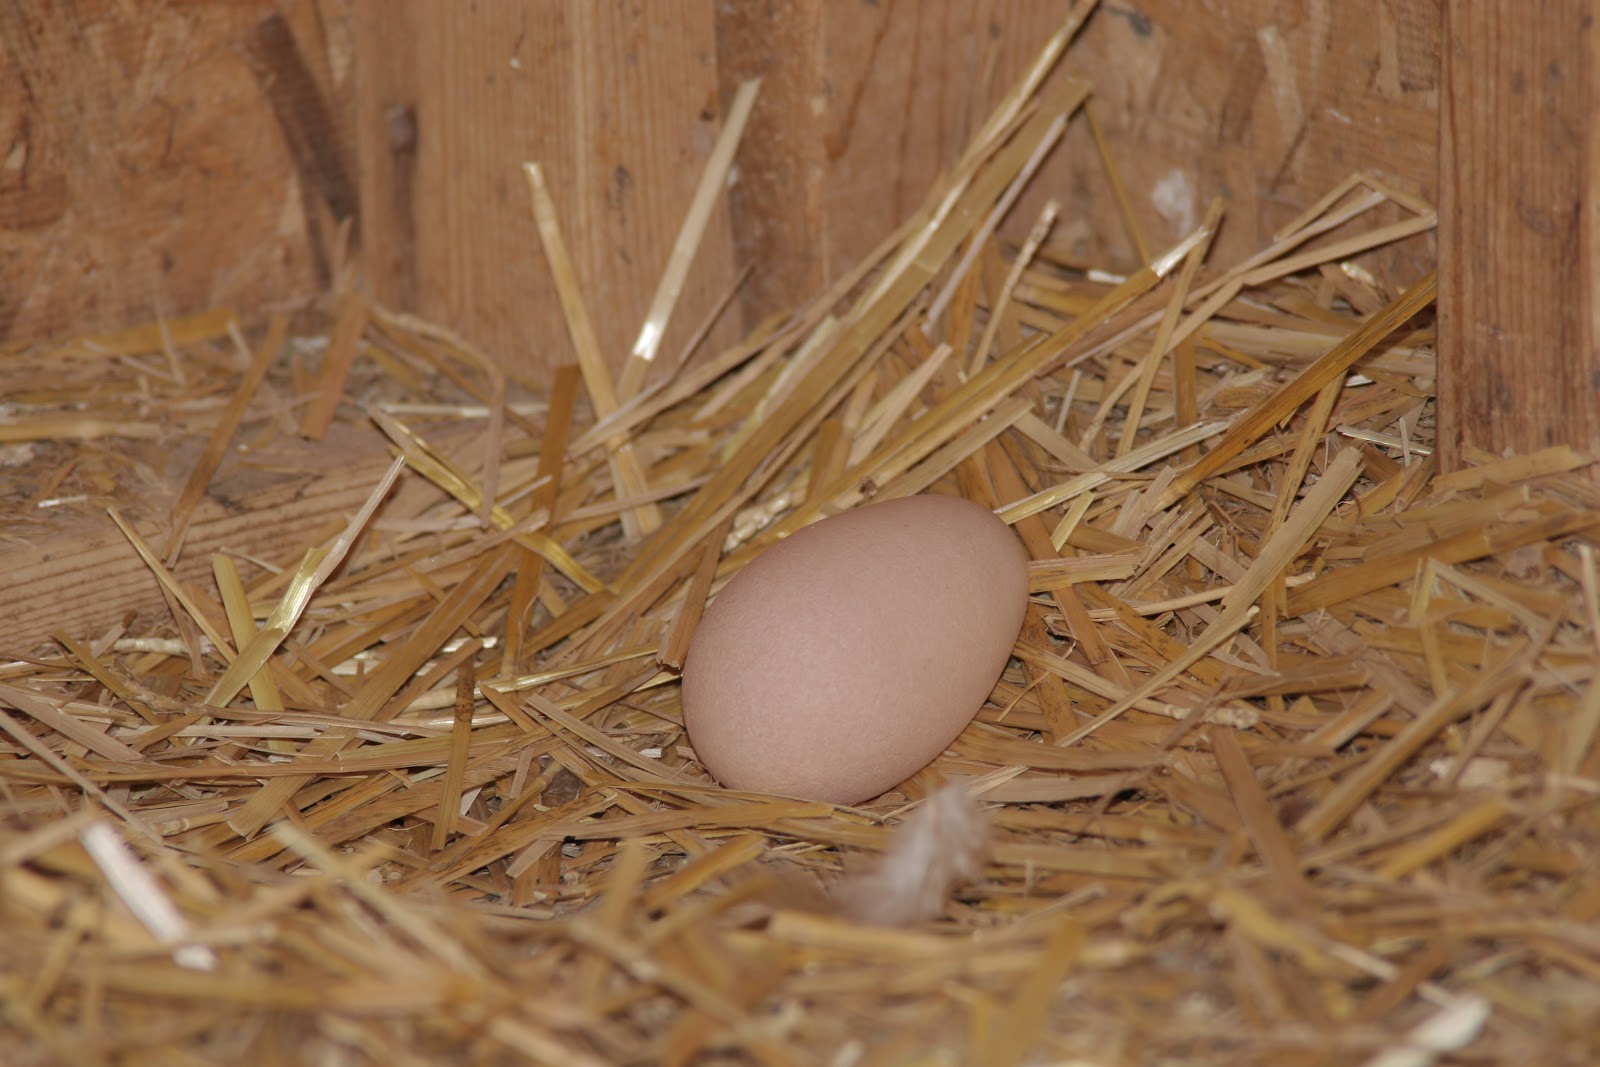
When I posted about making your own wine vinegar the other day, I mentioned that I use vinegar in my hen's water.  Several people asked why I would do such a thing.  It's a small thing that I've been doing since the beginning for their health. 

Most of us have heard of the health benefits of apple cider vinegar (ACV).  It appears to be one of those all around miracle cures.  Useful in treating a wide range of symptoms.  The same is true in your animals.  Just as we need to add beneficials to our gut, so do they. 


First, it's imperative that you use a plastic waterer.  If you can get glass, even better, but I've never found one.  The metal waterers will react with the vinegar and cause problems with the water.  I have a 1 gallon sized water jug.  To this I add about 1 tablespoon of ACV, or other active vinegar.  It must be a live cultured vinegar.  The dead stuff without a mother will not have the same effects. 

The first nice thing that you will notice, is that the vinegar will keep down the algae in your water.  If you have to give animals water, you will be quite familiar with the algae that grows in your water.  It looks yucky and takes quite a bit to clean out. 


The vinegar also acts as a dewormer for your birds.  It can help to perk up sickly looking birds.  One of the best things I've found is that it helps to boost the calcium absorption from their food.  This will give you harder shells with less supplementation of either oyster shell, or whatever else you use to give your birds calcium. 


I'm always looking for old time, natural ways to keep my animals healthy, so this was right up my alley.  With my new found ability to make my own vinegar, it made it even better.  The extra mothers can be fed to the birds as well, adding even more benefits to their diet. A healthy gut is good for everyone.  Even chickens.

Tuesday, April 17, 2012

Planting Blitz

This past weekend was perfect.  Warm without being too hot.  I'm trying something new this year.  Planting with the moon.  It's something I've heard about for years.  A good friend swears by this method.  I looked up some information on The Farmer's Almanac page.  It said that Friday and Saturday were good days to plant root crops.  There was quite a bit to plant, so off I went.

Friday was all about weeding beds and planting the seed tapes.  That afternoon the potatoes arrived from Fedco's Moose Tubers.  I had ordered conservatively.  Two years ago I over ordered potatoes and was giving them away to gardening friends everywhere.  Not wanting to repeat that folly, I under ordered.  With 2.5 pounds each of organic Yukon Golds and Rio Grande Russet, I thought I may be slightly under. 


I cut them into seed pieces to chit and then realized that if I was to plant with the moon, they needed to go in the next day.  By the next morning, they had healed over for the most part.  Most had eyes that were at least starting to sprout.  This is an experiment, so off I went to plant.  It turned out that I needed another 2.5 pounds to finish out the 25 foot bed that was being planted with potatoes.  Those were easily obtained at my local Farm Supply.  Red Norlands were planted and the bed was finished off. 

While I was out getting potatoes, the onions arrived.  Thankfully the bed was already prepared.  They were going into the other half of the strawberry bed that I had weeded out and fertilized last week.

They look like a bunch of soldiers all lined up.  The varieties are a yellow called Big Daddy which is a hybrid and Redwing, which is a red open pollinated variety.  Onions and I don't get along very well, but I'm hoping the seedlings from Dixondale farms and my new experimental moon planting will change the outcome.  We eat a lot of onions, so success would be a wonderful thing.  

I'm curious to see if I'll notice any difference in how well anything does.  Since I'm not doing any controls, it's not a very thorough experiment, but just one of curiosity.  Do you plant by the moon, or whenever you have the time?

Monday, April 16, 2012

Learning curve

The arch of the hoop house is a bit of a metaphor for the learning curve that goes along with learning to use them.  I've wanted one for quite a few years.  Reading blogs, articles and season extension books to get a sense for how to best put a hoop house to good use.  Then the excitement of actually having one throws all sense out the window.  Of course, a very warm March doesn't help. 
The hoop house that is planted.


The hoops were installed in early March.  We had a warm winter, followed by a warm March.  The warmth had caused me to plant things indoors earlier than I should.  As a result, there were plenty of things to go into the hoops when they were installed.  I reasoned that the warmth should continue and the hoops would protect the seedlings from harm.  As we were putting the plastic on, I noticed 2 holes about 1 inch in diameter.  Thinking to myself that they had to be patched, I promptly forgot all about them.  A week later we had night temps dip into the low 20's.

I covered the seedlings under the hoops and all was well.  It warmed up again, so the covers came off.  After a surprise 2 nights of 22 degrees, I expected total devastation.  The hoops did their job though.  The exception being in the area near the 2 holes. 
Kale seedling rebounding from near death


A few of the seedlings shriveled and died.  They are showing signs of life again, so they'll be left in the beds. 

The carrots I seeded with my seed tapes are finally coming up.  It doesn't seem there is too much time to be saved with planting them earlier.  They really do like the soil a bit warmer.  Maybe I'll do beets or radishes early next year. 

carrot seedlings

The tatsoi has been thriving under the hoops, as have the spinach and lettuce that were seeded.

Spinach, cabbage, tatsoi and lettuce.


So far, lessons learned.  1.  Make sure all holes have been sealed up.  2.  Have more patience when putting seedlings out in the hoops.  3.  Seeding carrots early is not a huge time saver, and the space could be better utilized.  4.  I love having the hoops and can't wait for the fall and winter to use them more thoroughly.

Friday, April 13, 2012

Of pitchforks and toilet paper

Tis the season to prep the garden.  If your garden is like mine, it's also the season to weed.  I have a terrible case of crab grass.  Sounds a little nasty, doesn't it?  I don't like to work my beds to heavily all year.  They tend to do better with just a little aeration. 

Now, I've seed broad forks all over the web for the past few years.  I blame Eliot Coleman and his fantastic books for this trend.  The problem is that they're expensive and usually need to be special ordered.  I'm cheap and I don't have a lot of space in my shed.  When a blogging friend wrote about her broad fork a few weeks ago, I realized that I was doing the same thing with my pitchfork.  I love a good multi-tasker.  Good tools that you feel comfortable with are indispensable. 

Using the pitchfork to loosen the soil


All you do is shove your fork into the soil, then rock it back to loosen up the soil.  Go across the width of the bed.  Then take a step backward and do another row.  My pitchfork is about half the width of the broadfork, but that doesn't bother me.  I'm short, so small is many times better.

Before prepping the bed.


After loosening all the soil, I went to work weeding.  If you don't have crabgrass, you are very lucky.  It's the devil.  It spreads under ground through long roots called stolons.  You can't smother it.  It just simply takes work.  When the weeds are gone, I smooth it over and the bed is ready for planting.

After prepping.  Weed free, loose soil.

When the beds were prepped, I planted my beets, carrots and parsnips.  I make my own seed tapes with toilet paper.  You can read about it here.  In all, I got 800 parsnips, 1600 beets and 1600 carrots planted.  Sounds like a lot, but in reality I'll be planting more this summer.  We love our root veggies. 

New England is experiencing a bit of a drought right now, so I'll have to keep them well watered.  Hopefully we'll get some good soaking rains soon.  If not, it will be a challenging gardening year.  What have you gotten into your beds lately?

Wednesday, April 11, 2012

Monday, April 9, 2012

Drunk mothers

I'm not much of a drinker.  I'll have a glass every now and again, but for the most part, alcohol is just not a part of my life.  As a result, we often end up with extra wine after a get together.  It used to sit in my basement until I tossed it.  Throwing things away drives me nuts.  After lamenting the price of white wine vinegar, I decided to take matters into my own hands.  It all started with the mother at the bottom of a bottle of apple cider vinegar.  You need the natural kind that has floaty bits in the bottom.

This is from Whole Foods, but I've also seen it from Spectrum, Eden and Braggs.

I poured about a half cup of the ACV with the little bits into a mason jar and then poured an equal amount of white wine into the jar.  Then I sat it on a shelf and let it sit.  After a week or so, a film formed over the top.

This is a new mother forming.  There was a distinct vinegar smell at this point.  I let it for a few more days until the mother got thicker and more powerful.  Meanwhile the kids and I danced around the kitchen screaming "We made a mother!"

Once I had a good strong mother, I filled the jar with another cup of wine and repeated the process.  I didn't want to overwhelm the mother.  Each time it formed another mother and became stronger.


This is the end of the process.  You can see the mothers at the bottom of the jar.  The remaining vinegar was poured into another jar to be used in dressings and the like.  I'll keep the mothers in a jar with some vinegar for the next batch.  Next up will be some red wine vinegar and this fall I'm hoping to make a big batch of ACV.  The chickens get vinegar in their water every day, so the cheaper I can get it, the better.  We also use a lot of vinegar in our food.  Since this was naturally fermented, it will be even better for us.

This post is part of the Frugal Days, Sustainable Ways blog carnival.  I will also be linking to Little Farm in the Big City Homestead Helps Wednesday.
Also Simple Lives Thursday at a Little Bit of Spain in Iowa.

Saturday, April 7, 2012

Progress is being made.

Do you remember that huge list I made?  The one with all the things that needed to be done around the yard and garden?  I'm happy to say that I've made it about 2/3 of the way through the list. 


The front flower/herb bed has been cleaned up and edged.   I divided up my daylillies and added them to the beds.  The daylillies are like weeds and will fill in nicely over the next few years.  The lovely couple that just bought the other side of our duplex, is very anxious to pretty up the place.  We'll be fixing the sad state of the yard in the next few weeks.  Loam will be delivered and grass seed spread.  Since the septic is in the front yard, we're very limited in what we can do.  The loam will be put on the far end of the yard, so we don't harm the leaching field.


The strawberry bed has been weeded and manured.  The strawberries don't take up the whole bed, so the rest of the bed will be planted with onions.  I have terrible luck starting onions, so I'm ordering from Dixondale Farms this year.  They should be here next week for planting.

 The Northwest corner of the yard was becoming overrun with wild blackberry canes and other weeds.  Despite long sleeves and leather gloves, I still ended up with a number of scratches.  However, it looks great now and is ready for my newest plans.  I'll let you in on those later.

The chicken coop got cleaned out of all the winter's mess.  One of the Rhode Island Reds sat in the coop and squawked at me the entire time.  It was pretty funny.  They now have fresh bedding and the electric that is run out to the coop has been cleaned up and put away.  We are still having cold nights, but they don't need the water heater anymore.  The lights were turned off about a month ago after I decided not to artificially light them anymore.  We'll be getting new chicks in the next few days, so we should be fine with the excess through next winter.  

Toby and our new dog Molly, had to rest after supervising all of the action.  Molly is another dog from a client.  She is a 7 1/2 year old lab mix and is sweet as can be.  She is really loving being a 'farm' dog.  

Today we planted a small garden just outside the coop.  The kids and a few friends helped.  It will contain greens and sunflowers.  The sunflowers to add some shade and the greens for yummy chicken treats.  They get a lot from the garden, but I thought it would be nice for them to have their own supply of yummy food.  

Lots more is happening and I'll update it all in time.  Enjoy your Easter or Passover celebrations!

I'll be linking to the Homestead Barn Hop.  Check out what others are doing around the homestead.